

You're looking at those ridiculously beautiful photos of pie all over Instagram and Pinterest, and now you MUST make one. I've got you covered and have even prepared a how to make a lattice pie crust video! (Because who really understands how to weave a lattice crust without watching it?) And because it's the giving season, I'm throwing in how I make my decorative leaf pie crust, too. Move over, Martha!
How to Make a Lattice Pie Crust Video
Press play! Bookmark and pin this baby, because this will be your guide for life! And now let's talk about the subtleties of making lattice pie crust.
Items needed to make a decorative pie crust
- Flour
- Sugar
- Butter
- Ice water
- Rolling pin
- Pizza cutter
- Leaf cutters
Helpful tips for making a lattice pie crust design
- The widths of your strips make a difference. Over the years, I've come to prefer a larger lattice because it gives more coverage so I can more fully indulge in the flaky crust. But thinner lattice looks more elegant. So, if you're trying to impress your mother-in-law or the PTA, go with the skinnier strips.
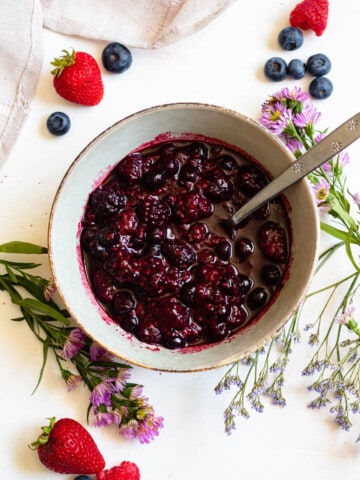
- Make sure your pie filling is full enough. If not, the lattice design will sink and get all sad. And we don't want sad pie, now do we? I've been there—it's no bueno. (By the way, the pie filling in these photos is 5 cups of the frozen berry blend from Costco, mixed with one cup of sugar. Easiest pie filling EVER. You're welcome.)
- Ensure your strips are long enough to roll into the crust! If you don't press them into the edges, they may separate when baking and fall apart. (Again, I know from experience.)


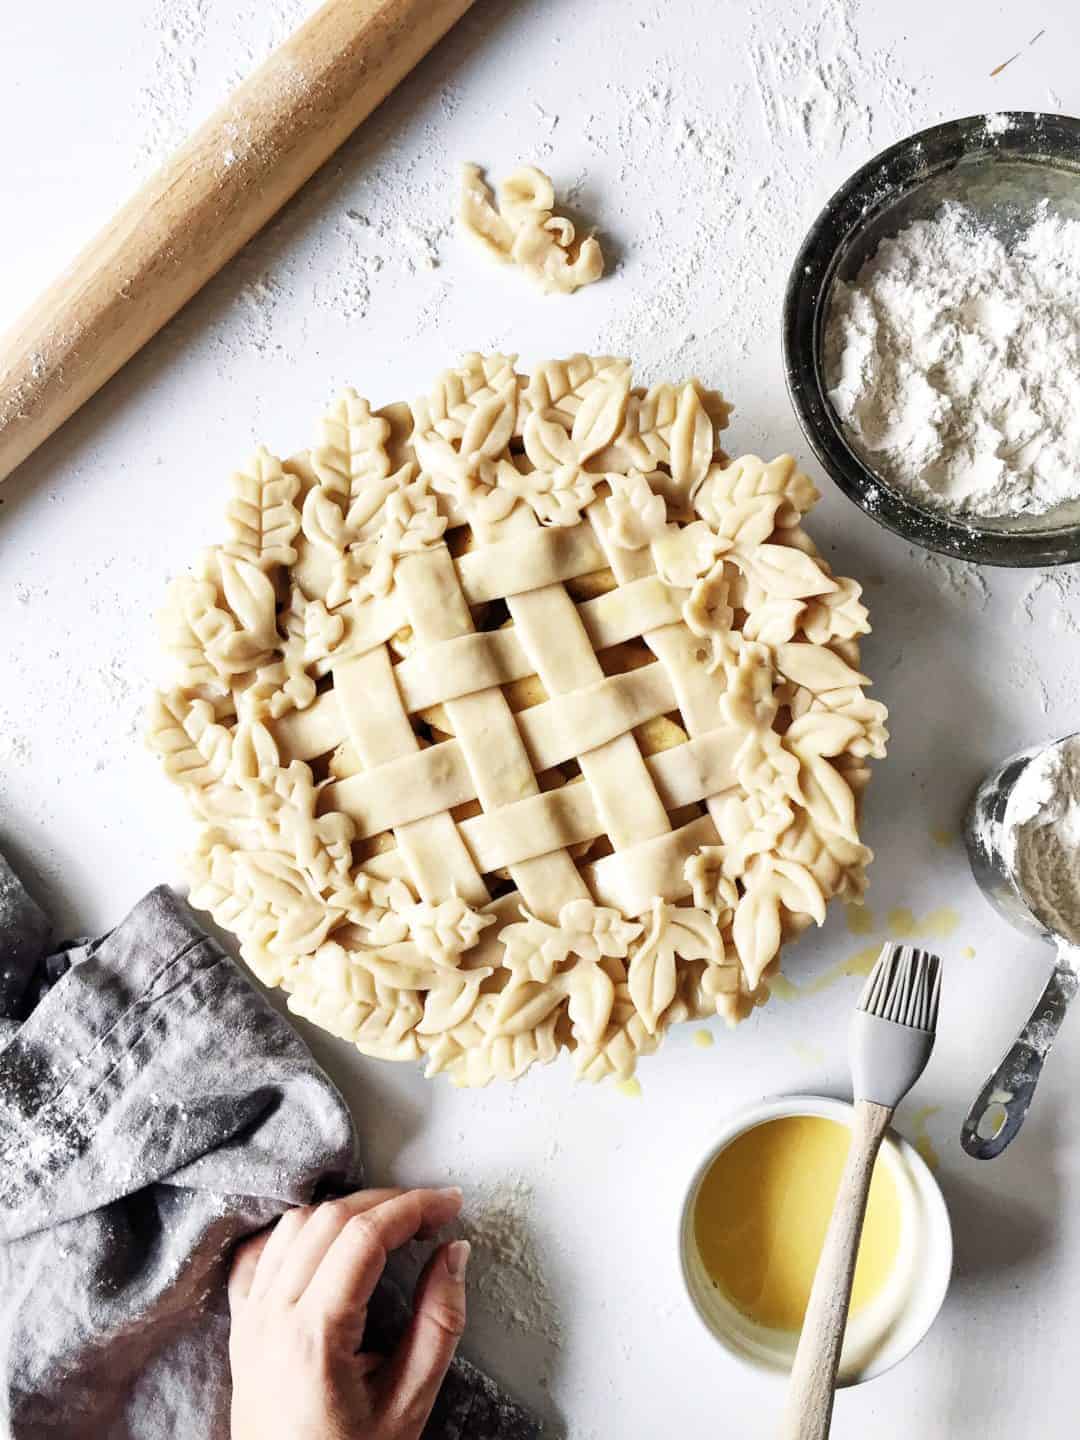
How do I make decorative leaf pie crust?
Ah, yes. The finishing touch that makes all the difference! The decorative leaf pie crust is the element that takes your pie from, "Wow, that looks great!" to "Holy mackerel! YOU made this?!"
And it's all thanks to some extra pie dough and these leaf pie crust cutters. Buy them right now! Beleaf me, It will be the best $10 you've spent in a long while.

When using these cutters, you must make a clean cutout, and then press down the spring top to get the leaf indents and decorative markings. It might take a couple of tries, but you'll get the hang of it.
For this particular lattice pie crust with decorative leaf cutouts, you will want 14-18 leaves for the outer ring, 12-14 for the middle ring, and 10-12 for the inner ring.

Play around with the designs until it creates a pattern you like best. Also, here's a little pro tip: slightly overlapping the leaves gives it the prettiest dimension.

Helpful tips for making pie crust
- Do not over-handle or mix the the dough. This can cause the pie crust to be too tough.
- Prep ahead of time place the dough and crust in the refrigerator to chill for 1-2 hours. This will help keep its shape.
- Be sure to use a pie shield or cover the crust edges with foil if they are beginning to darken too much or burn. Sometimes the bake temperature and time will vary, depending on the filling.
If you like this recipe, try these too!
If you’ve tried this lattice pie crust design, or any other recipe on the blog, please let me know how you liked it in the comments below. I absolutely love hearing from you! You can also FOLLOW ME on Instagram, Pinterest and Facebook, for more recipes like this, and behind the scenes cooking and holistic wellness tips!
📖 Recipe

How to Make a Lattice Pie Crust Video + Decorative Leaf Pie Crust
Equipment
- Rolling pin
- Pizza cutter
- Leaf cutters
Ingredients
- 3 cups flour
- 1 tablespoon granulated sugar
- 2 sticks salted butter cold and cubed
- ½ cup ice water
- 1 large egg
Instructions
- Add flour, sugar, and butter to a food processor. Pulse about 15 times until the butter and shortening are pea-sized. Pour in the ice cold water and pulse until the dough just barely pulls from the sides and forms a ball.
- Divide the dough into two even balls. Wrap in plastic wrap, and place in refrigerator to firm. (Be sure not to over-mix or over-handle the dough.)
- Remove pie dough from the refrigerator. Place the first ball on a well-floured surface and flatten into a round disc. (If needed, roll between two sheets of parchment paper to prevent sticking.) Use a rolling pin to roll the dough into a large circle that will overlap in a pie pan. Gently pick up and place the dough in the dish, using the tips of your fingers to mold it into the sides. Trim any overlapping dough so it's about 1" beyond the edge of the pan. Add filling.
- Roll out the second dough ball for your lattice crust. Cut 10 strips about 1" in thickness with a pizza cutter.
- Lay your first layer of five parallel pie dough strips on top of the filling, longest strip in the middle, and shorter strips toward the edges. Space them about ½-3/4-inch between strips. Fold back every other strip.
- Place a perpendicular long pie dough strip in the middle. Unfold the parallel strips on top of the perpendicular one in the middle. Fold back the next set of parallel pie dough strips. Repeat this process with each piece until the lattice is complete.
- Trim the strips to the same length as the bottom layer of pie crust. Roll the edges together and pinch dough to seal it.
- Roll out remaining dough scraps. Using decorative leaf cutters, cut out 14-16 leaves for the outer ring, 12-14 for the middle ring, and 10-12 for the inner ring.
- Place outer leaves on the edge of the crust, about ½-inch space in-between each leaf. Repeat this same step with the middle and inner rings, slightly overlapping the leaves. Adjust as needed to make it even and symmetrical.
- Beat one egg, and brush the egg wash on the completed decorative crust. Bake on 400°F for 20-25 minutes (or whatever the filling recipe calls for), until crust is golden. Decrease oven heat to 375°F. Cover leaf edges and the crust with foil or a pie shield and bake for another 15-20 minutes until filling is fully cooked. Remove and let cool.
Video
Notes
- Do not over-mix or over-handle the dough. This can cause the pie crust to be too tough. It's better to make extra dough, if needed.
- Prep ahead of time place the dough and crust in the refrigerator to chill for 1-2 hours. This will help keep its shape.
- Be sure to use a pie shield or cover the crust edges with foil if they are beginning to darken too much or burn. Sometimes the bake temperature and time will vary, depending on the filling.
Nutrition
Christine says
Hello! I was just wondering would I be able to cut out the leaves and lattice a day ahead of baking? I am baking several pies for families for Thanksgiving and am trying to prep as much as I can. If I lay everything on a tray with parchment paper covered with plastic wrap do you think my dough will be okay for a day or would it dry out? Thank you so much!
Abby says
Absolutely stunnung! Def trying. Where did yoy get those leaf cutters i wonder?
The Butter Half says
They are from Amazon! They are linked in the post. 🙂
Karly says
Wow, this is simply stunning. I've always wanted to be able to make a truly breathtaking pie, and I feel like this is the recipe that has finally inspired me to try. Love it!
The Butter Half says
Thanks so much, Karly!