
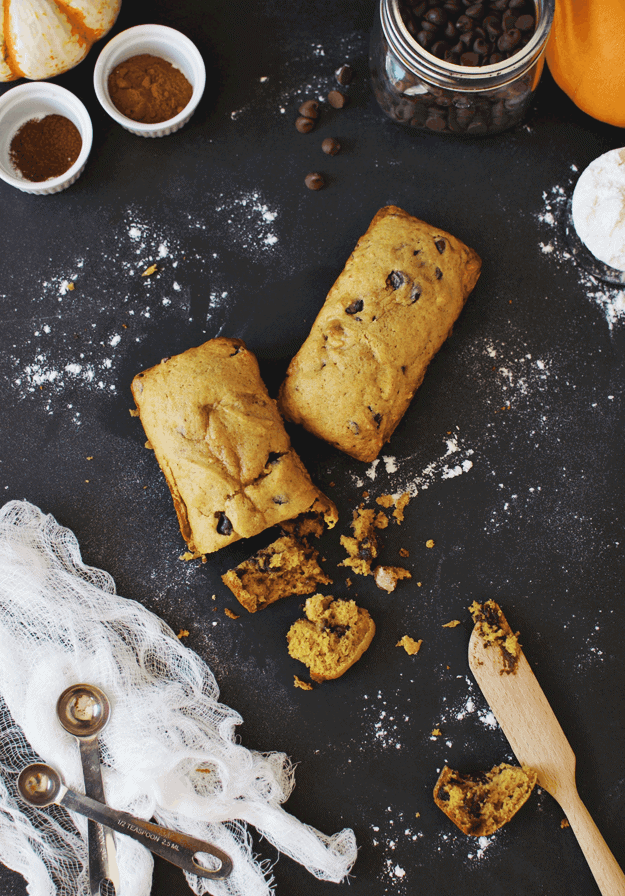
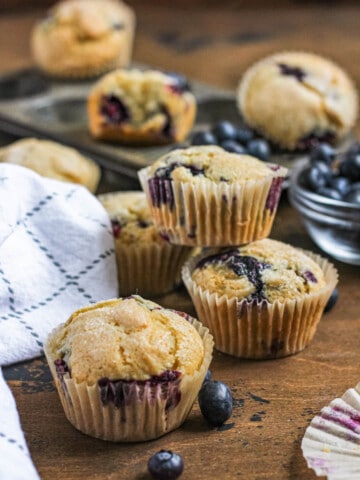
We are still in the first week of October and I have already made this pumpkin chocolate chip harvest bread FIVE times. To say it is good would be a major understatement. This loaf has the optimal balance of ingredients. Not too pumpkiny, the spice to sugar ratio hits the sweet spot, and the chocolate chips take it to next level baked good perfection. You ready to make your five loaves now? Thought so.
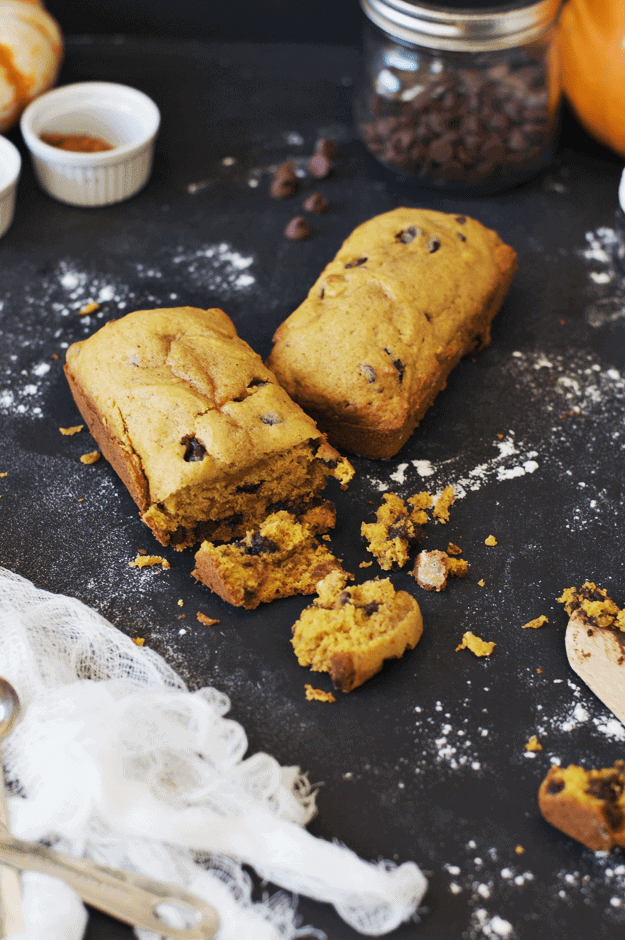
This is one of our aunt's recipes and I still remember the first time my husband made this bread. It was one of those moments where I stood at the oven range waiting for the pan to cool, fork in hand, eating an entire loaf while standing there. You know the ones! (I also have frequent visits with brownies in this same fashion.) The texture of the bread was dense, and moist, and glorious. My life during the fall months would never be the same. Caught up in the moment, I am pretty sure I shouted, "Three cheers for this pumpkin chocolate chip harvest bread! Chip chip hooray! Chip chip hooray! Chip chip hooray!"
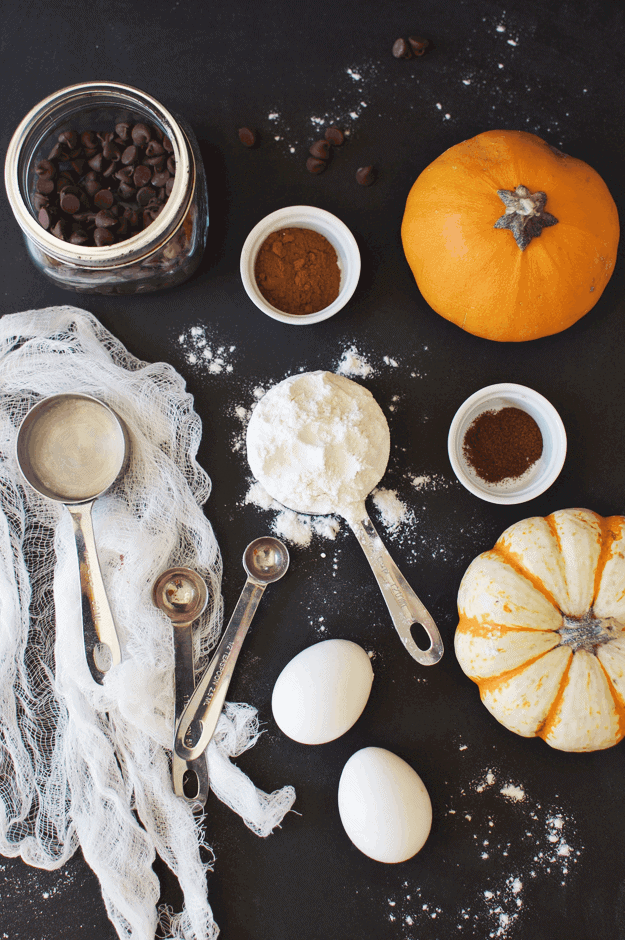
What do you need to make this amazing gluten-free pumpkin chocolate chip bread?
- Sugar
- Butter
- Eggs
- Gluten-free flour
- Baking soda
- All the fall spices!
Promise me you will make it, okay? Grab the recipe below, and as always, enjoy!
📖 Recipe
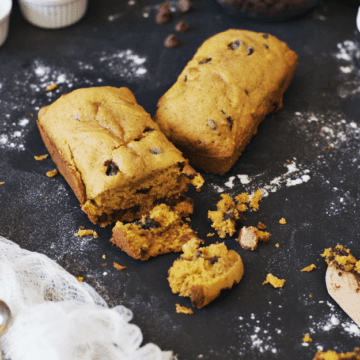
Pumpkin Chocolate Chip Harvest Bread (Gluten Free)
Ingredients
- 1 cup sugar
- ½ cup butter 1 stick
- 2 large eggs
- 1 ¾ cups flour I use the King Arthur flour cup for cup blend
- 1 teaspoon baking soda
- 1 teaspoon cinnamon
- ½ teaspoon nutmeg
- ½ teaspoon cloves
- ¾ cup canned pumpkin
- 1 cup chocolate chips
Instructions
- Preheat oven to 350°F. Mix together sugar, butter and eggs in a stand mixer on medium speed until it is light and fluffy. Combine the flour, baking soda, and spices together in a sifter, and sift half of it into the sugar mixture. Add in the pumpkin, mix well, and then sift in the remaining flour. Add the chocolate chips last.
- Grease a 4-cup mini loaf pan and pour the batter evenly into each cup. Bake on 350° for 24-25 minutes. (You can check that the loaves are done if you insert a toothpick and it comes clean. Also, please note that if you live in a high altitude area, your bake time needs to be longer, about 30-35 minutes.) Serve immediately while warm and gooey, and enjoy!
Veronica says
Hi! So I tried these last night but the baking time was off! They were still very raw at 24 min and we had to put them in again for at least 10 minutes more. Do you think being in Utah and being at a higher altitude made a difference? How would I fix it? Also I got 4 mini loaves but I was confused about your "greased 4 cup mini loaf pans for 24 minutes" directions. Are they 4 mini loaves and a cup of batter in each? Or the loaves fit 4 cups in them? I just divided everything evenly but it did confuse me a great deal.
I was really sad cause I pulled them out at 24 and we left them cooling and they were all sunk in! But then we put them back in like 5 different times for about 5 minutes each (we have no idea what we are doing) and somehow they rose up and they taste awesome and are not dry or anything so I'm happy!
The Butter Half says
Hey Veronica! Thanks so much for this comment. I am sorry you had trouble. Yes, since you live in a higher altitude, the bake time needs to be longer, and the 4-cup mini loaf pan is a specific type of pan. I have adjusted the recipe and clarified, so hopefully there isn't any confusion. Glad you were able to fix it and they eventually turned out. Next time, bake for 35 minutes and you should be set! 🙂
Stephanie says
Can you do this recipe in one regular loaf pan?
The Butter Half says
Yes, but your baking time needs to be a little bit longer. I would try 30 minutes, and check it about every 5 minutes from there! 🙂