• Skip to primary navigation
  • Skip to main content
  • Skip to primary sidebar

The Butter Half logo

  • Recipes
    • Appetizers and Snacks
    • Breads and Pastries
    • Breakfast and Brunch
    • Desserts
    • Drinks and Smoothies
    • Main Dishes
    • Salads
    • Sandwiches and Wraps
    • Sauces and Dressings
    • Side Dishes
    • Soups and Stews
    • Instant Pot Recipes
  • About
    • Work With Me
    • Privacy Policy
    • Disclaimer & Disclosure
  • Cookbook
menu icon
go to homepage
  • Recipes
    • Appetizers and Snacks
    • Breads and Pastries
    • Breakfast and Brunch
    • Desserts
    • Drinks and Smoothies
    • Main Dishes
    • Salads
    • Sandwiches and Wraps
    • Sauces and Dressings
    • Side Dishes
    • Soups and Stews
    • Instant Pot Recipes
  • About
    • Work With Me
    • Privacy Policy
    • Disclaimer & Disclosure
  • Cookbook
    • Facebook
    • Instagram
    • Pinterest
    • Twitter
    • YouTube
  • subscribe
    search icon
    Homepage link
    • Recipes
      • Appetizers and Snacks
      • Breads and Pastries
      • Breakfast and Brunch
      • Desserts
      • Drinks and Smoothies
      • Main Dishes
      • Salads
      • Sandwiches and Wraps
      • Sauces and Dressings
      • Side Dishes
      • Soups and Stews
      • Instant Pot Recipes
    • About
      • Work With Me
      • Privacy Policy
      • Disclaimer & Disclosure
    • Cookbook
    • Facebook
    • Instagram
    • Pinterest
    • Twitter
    • YouTube
  • ×
    The Butter Half / Recipe Index / Appetizers and Snacks / How To Make Pickled Garlic

    How To Make Pickled Garlic

    By Madi • Published: Aug 4, 2022 • Modified: Feb 2, 2023 • Leave a Comment • This post may contain affiliate links.

    JUMP TO RECIPE PRINT

    Calling all garlic lovers! Wondering how to make pickled garlic? I’ve got you. Garlic is typically used to flavor your favorite dishes but pickling it preserves its flavor and extends its shelf life. 

    Garlic has a number of health benefits including (but not limited to), boosting your immune system, detoxing your body, reducing cholesterol levels, helping with athletic performance, and many more. 

    Recipe Ingredients

    1 teaspoon dried oregano 

    1 tablespoon fresh dill 

    1 cup garlic cloves (about 3-4 heads of garlic), peeled

    ½ cup white vinegar

    ½ cup water

    ½ teaspoon salt 

    ½ teaspoon sugar

    Step by Step Instructions

    Step 1: Wash an 8 oz glass jar using warm water and soap. Dry thoroughly. 

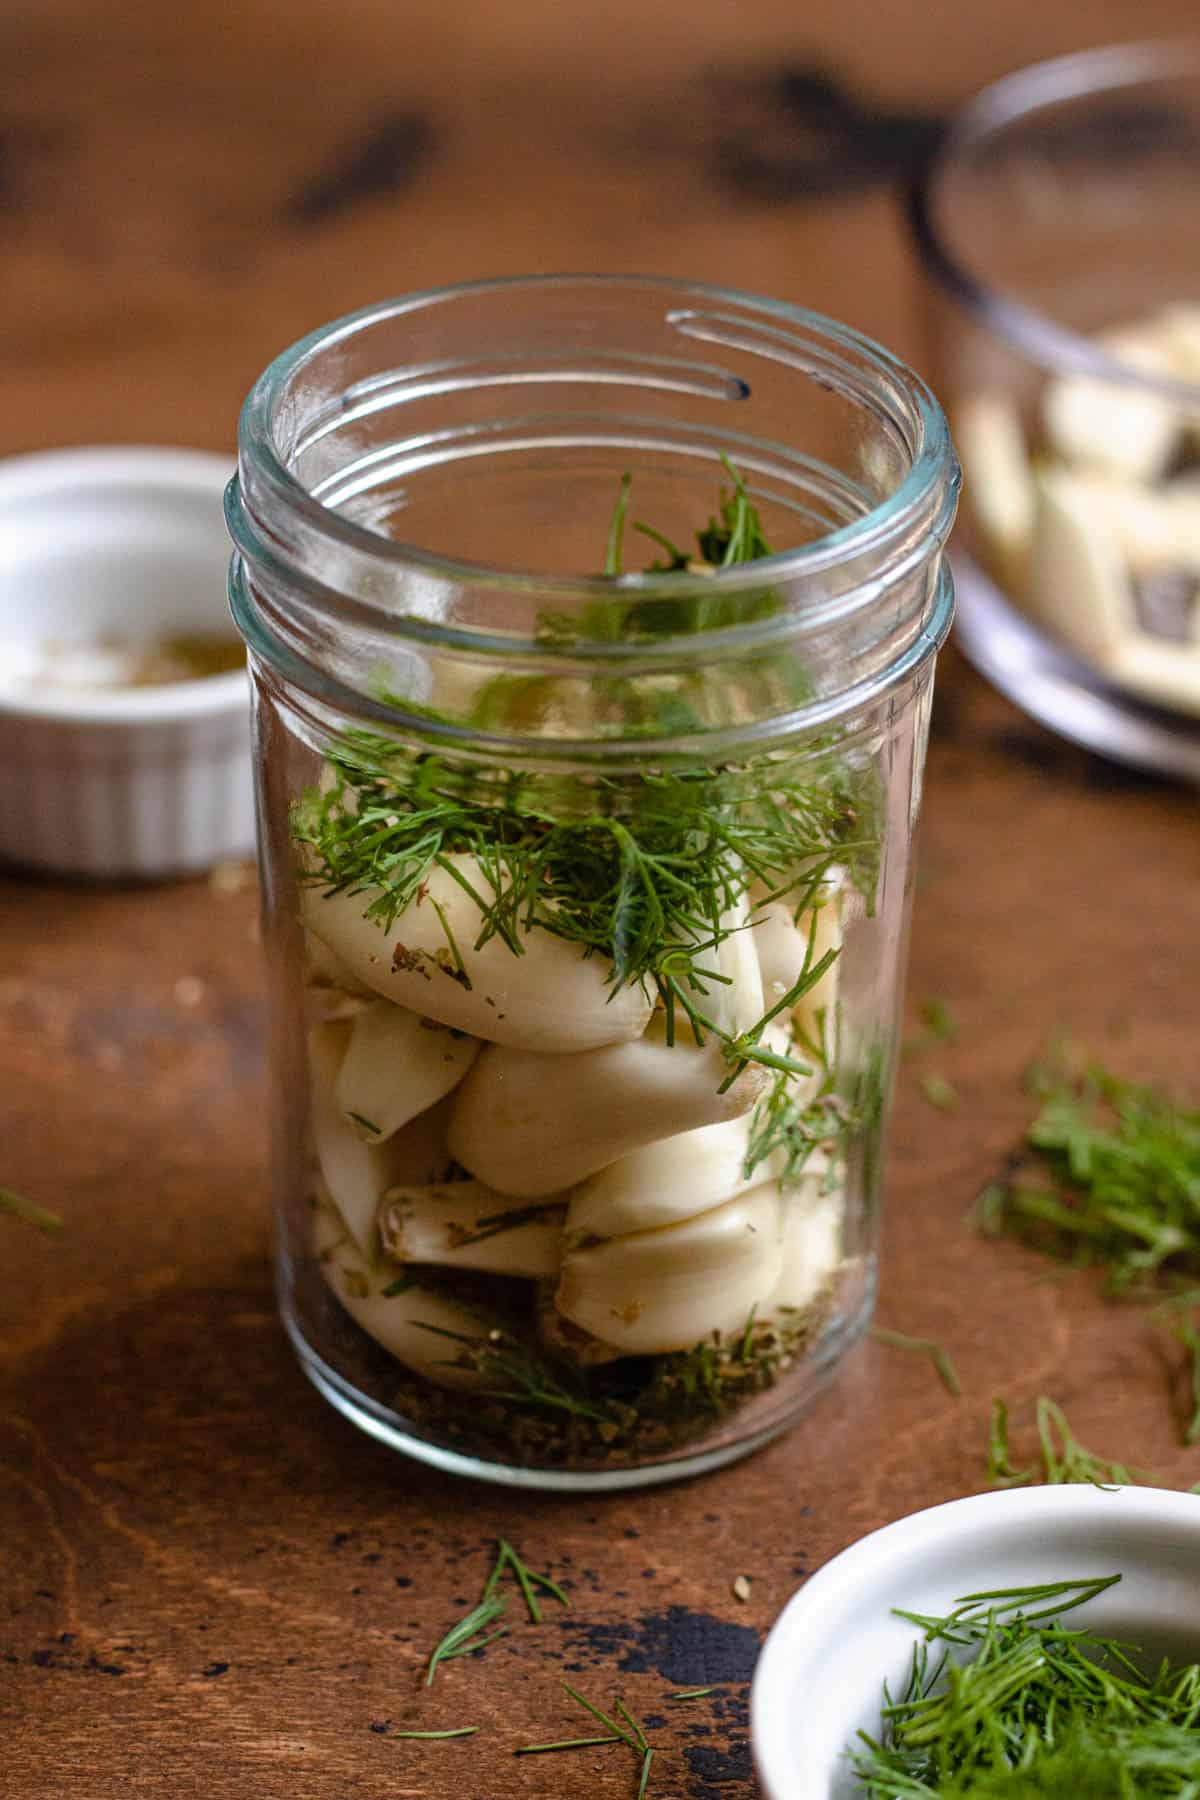
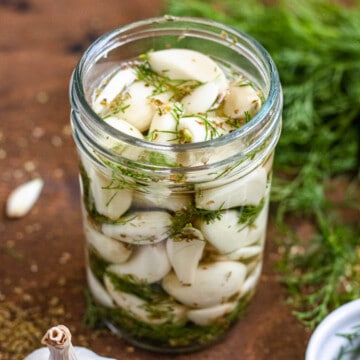
    Step 2: Sprinkle some of the oregano and fresh dill into the bottom of the jar. Then pack the garlic cloves into the sterilized jar, alternating between layers of garlic and layers of herbs (I usually end up with about 3 layers of each). Leave about ½ inch of space at the top of the jar. Set aside. 

    jar of garlic cloves and fresh herbs with a dark colored background

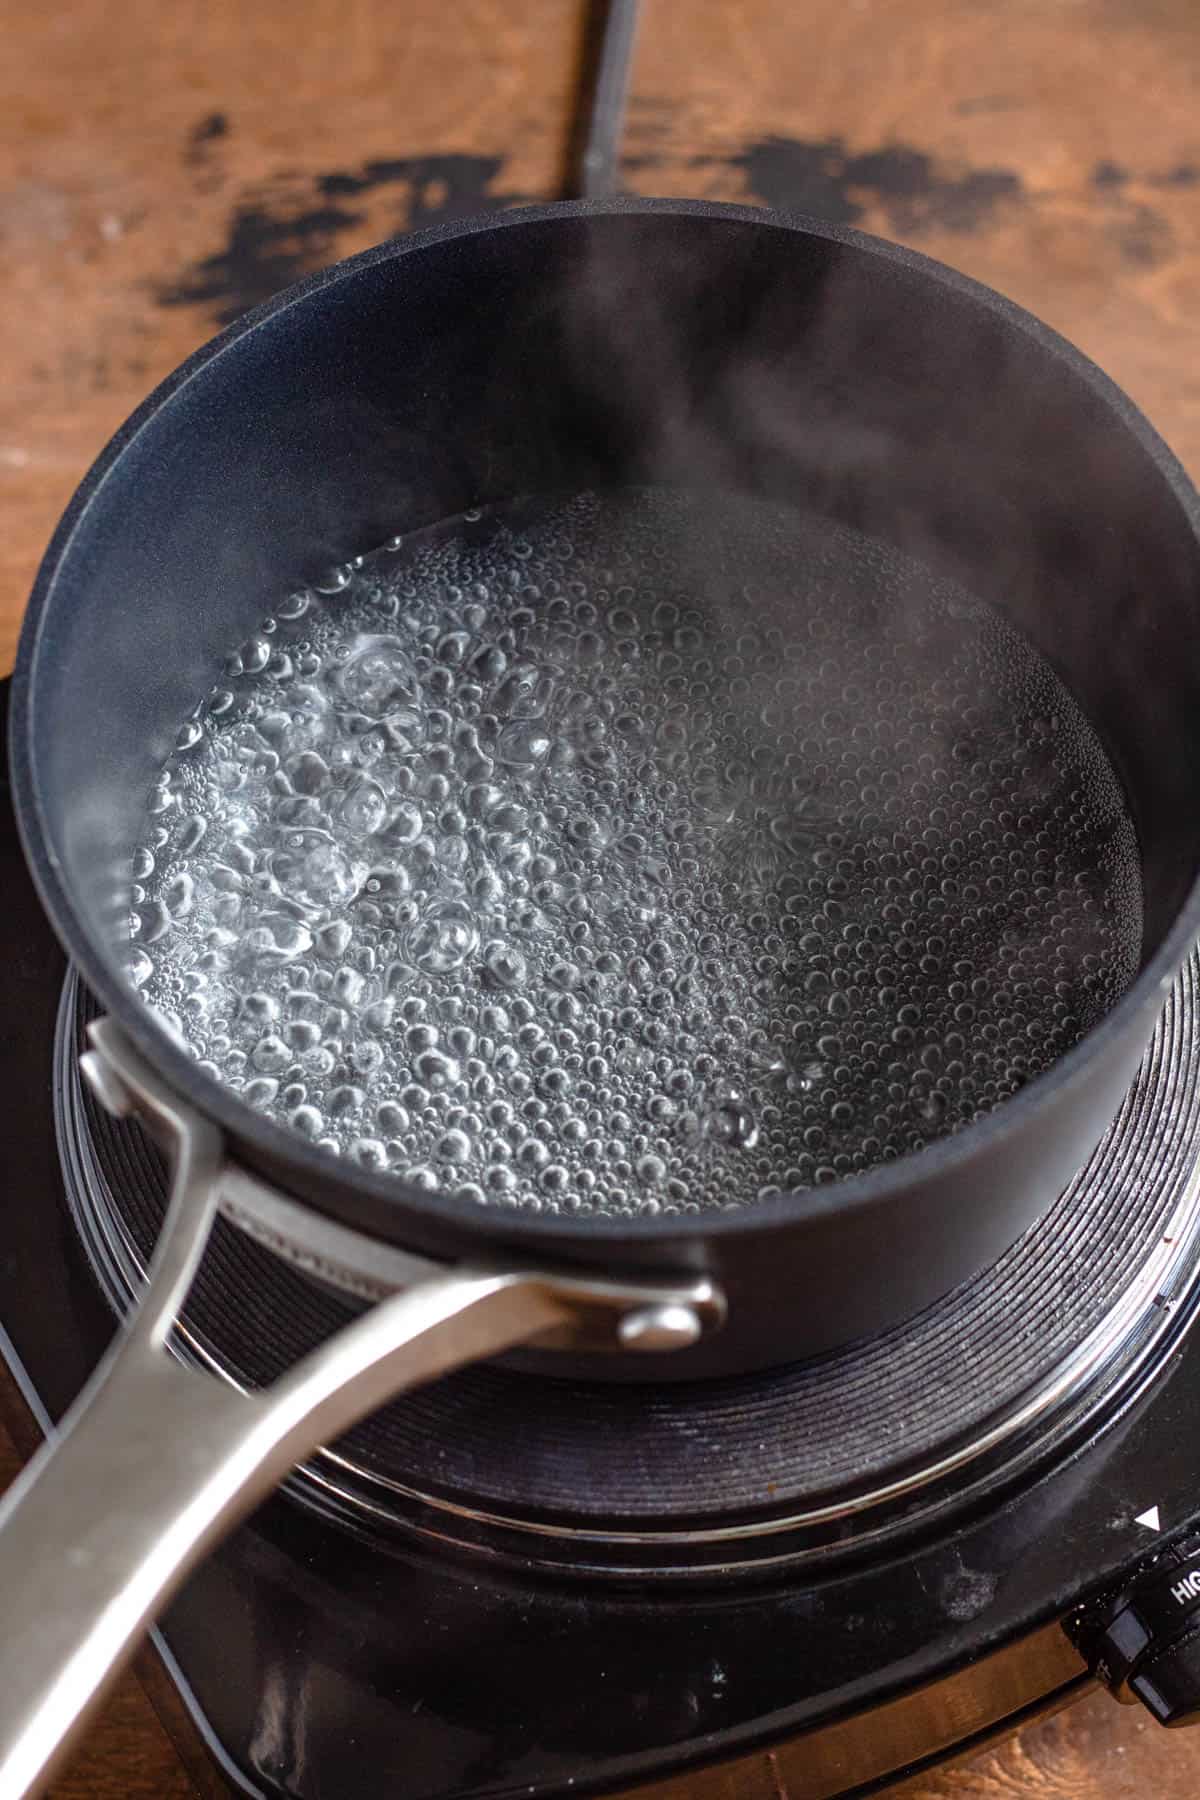
    Step 3: Add the white vinegar, water, salt, and sugar into a small pot on the stove. Stir the liquid together, and then place the pot over medium-high heat. 

    Step 4: Allow the water to warm up, stirring occasionally. When the water is hot, the salt and sugar is dissolved, and the liquid is just barely beginning to form bubbles, remove the liquid from the heat (do not allow it to boil).

    pot of boiling water

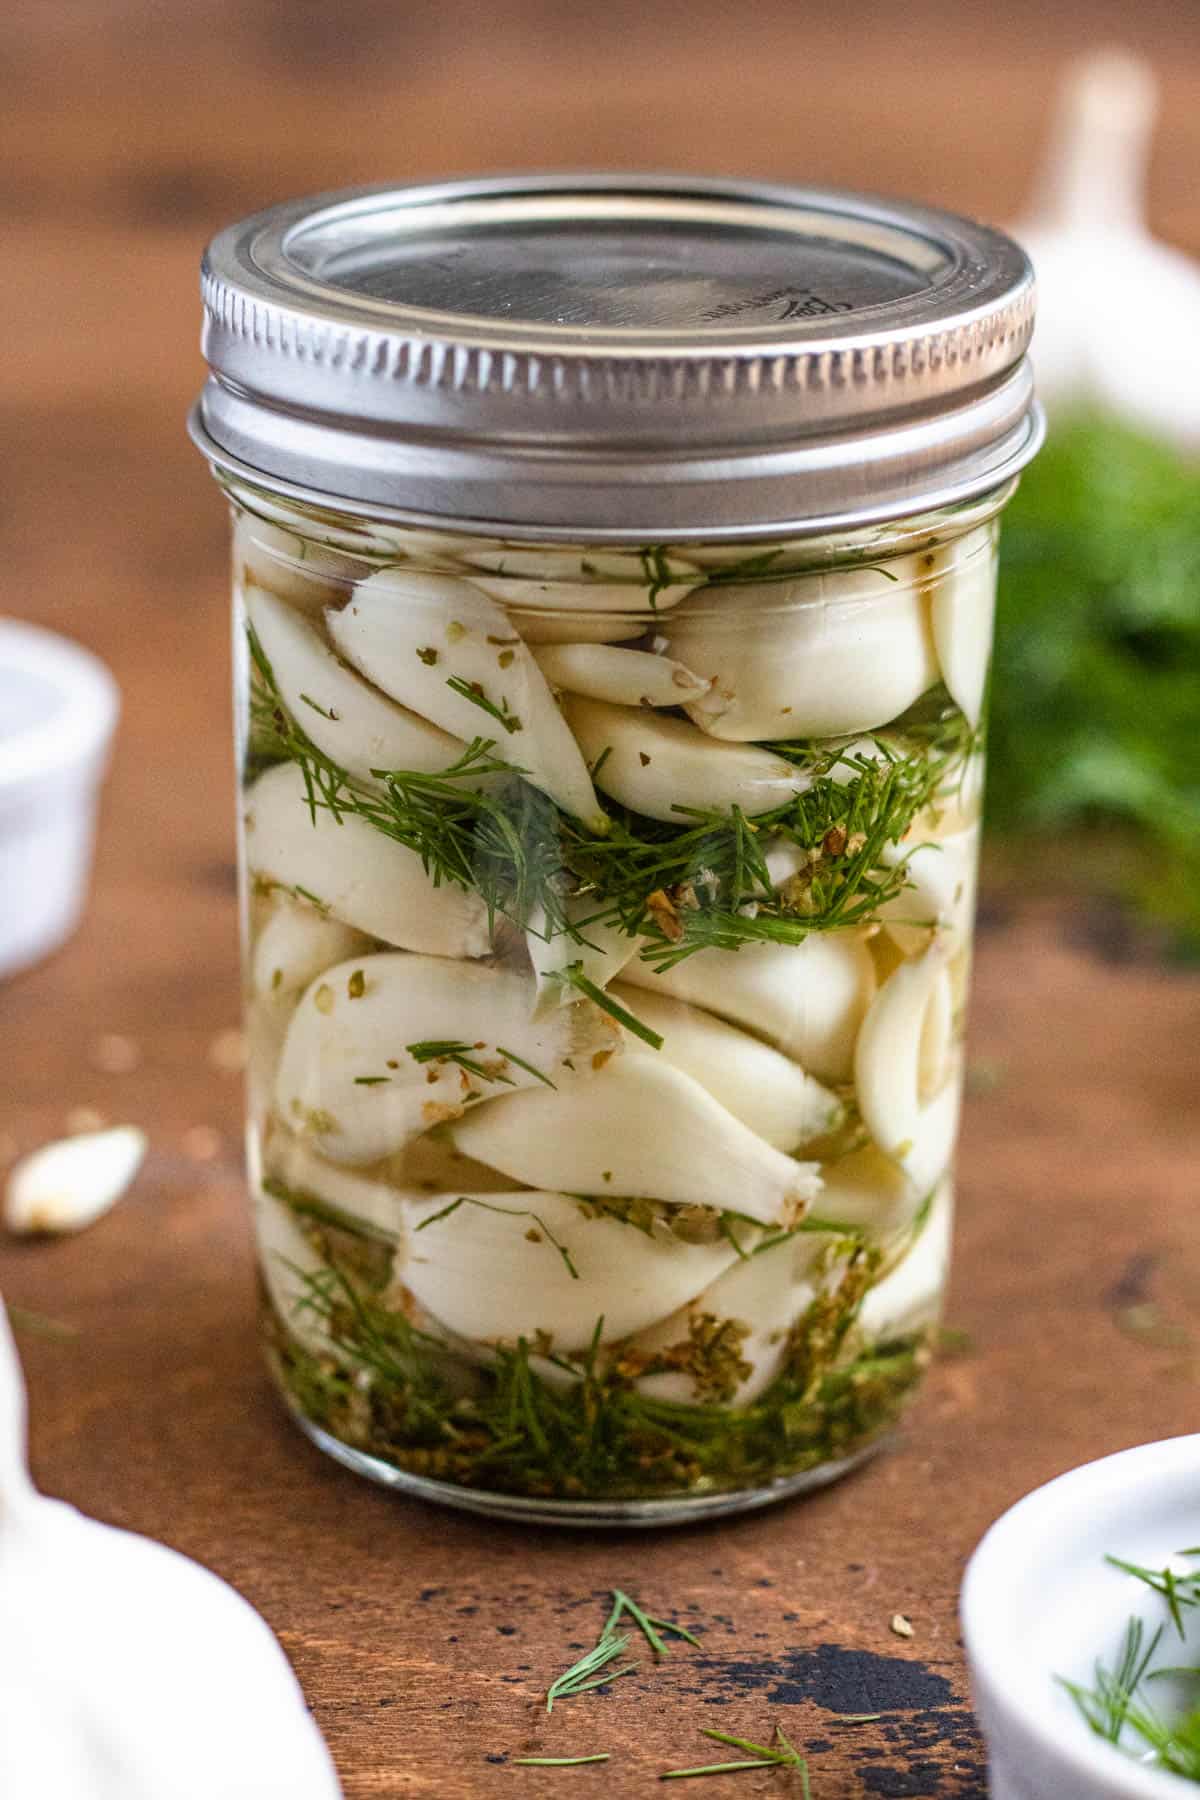
    Step 5: Fill the jar with the hot liquid, maintaining your ½ inch of headspace at the top. Add the lid tightly onto the jar.

    jar filled with pickled garlic topped with a silver lid with a dark colored background

    Step 6: Place the jar in the fridge for 2-3 weeks before enjoying!

    Variations

    • Feel free to add other herbs or spices if they sound good to you. Paprika, turmeric, coriander, and mint would all be good choices. 
    • Add a bay leaf for extra flavor
    • Red pepper flakes are a great way to add some spice to your pickled garlic

    Storage Instructions & Food Safety

    • You can start eating the pickled garlic after even a few hours in the fridge, but the longer you let it sit, the better it will taste 
    • This is NOT a tutorial on how to can your pickled garlic for a long term shelf life... I am not a canning expert, and you can become very sick by canning improperly. The pickled garlic in this recipe will be good to consume for about 3 weeks. If you wish to store your pickled garlic for longer or if you wish to store it on a shelf (instead of in the fridge), please consult a canning expert. 

    Expert Tips & Tricks

    • If you have a larger jar, you can easily double the recipe to fit your container. 
    • The ratio of water to vinegar is always 1 to 1. NEVER add less vinegar than water, or your garlic may not stay preserved for the three weeks. 
    • Serve on a charcuterie board, sautéed with vegetables, on salads, or even eaten plain.

    If you like this recipe, try this one too!

    How To Make Garlic Paste


    jar of pickled garlic in front of fresh herbs with a dark colored background

    How to Make Pickled Garlic

    By: Abbey Rodriguez
    PRINT PIN RECIPE
    Calling all garlic lovers! Wondering how to make pickled garlic? I’ve got you. Garlic is typically used to flavor your favorite dishes but pickling it preserves its flavor and extends its shelf life.
    Garlic has a number of health benefits including (but not limited to), boosting your immune system, detoxing your body, reducing cholesterol levels, helping with athletic performance, and many more.
    Servings: 1
    Calories: 239kcal

    Ingredients

    • 1 teaspoon dried oregano
    • 1 tablespoon fresh dill
    • 1 cup garlic cloves (about 3-4 heads of garlic, peeled)
    • ½ cup white vinegar
    • ½ cup water
    • ½ teaspoon salt
    • ½ teaspoon sugar

    Instructions

    • Wash an 8 oz glass jar using warm water and soap. Dry thoroughly.
    • Sprinkle some of the oregano and fresh dill into the bottom of the jar. Then pack the garlic cloves into the sterilized jar, alternating between layers of garlic and layers of herbs (I usually end up with about 3 layers of each). Leave about ½ inch of space at the top of the jar. Set aside.
    • Add the white vinegar, water, salt, and sugar into a small pot on the stove. Stir the liquid together, and then place the pot over medium-high heat.
    • Allow the water to warm up, stirring occasionally. When the water is hot, the salt and sugar is dissolved, and the liquid is just barely beginning to form bubbles, remove the liquid from the heat (do not allow it to boil).
    • Fill the jar with the hot liquid, maintaining your ½ inch of headspace at the top. Add the lid tightly onto the jar.
    • Place the jar in the fridge for 2-3 weeks before enjoying!

    Nutrition

    Calories: 239kcal | Carbohydrates: 48g | Protein: 9g | Fat: 1g | Saturated Fat: 0.1g | Polyunsaturated Fat: 0.4g | Monounsaturated Fat: 0.02g | Sodium: 1195mg | Potassium: 576mg | Fiber: 4g | Sugar: 3g | Vitamin A: 77IU | Vitamin C: 43mg | Calcium: 291mg | Iron: 3mg

    Sharing is caring!

    13 shares

    Reader Interactions

    Leave a Reply Cancel reply

    Your email address will not be published. Required fields are marked *

    Recipe Rating


    This site uses Akismet to reduce spam. Learn how your comment data is processed.

    Primary Sidebar

    Hi, I'm Abbey! Certified Holistic Nutritionist & Herbalist | I healed my body using holistic nutrition and herbs. And I believe you can, too. Here you will find nourishing recipes and wellness tips for the family, as well as my herbal cookbook, Root & Nourish. Because you can achieve your ultimate wellness goals using plants and whole foods.

    More about me →

    Reader Favorites

    • 15 Minute Instant Pot Italian Meatballs
    • Easy Baked Frittata Recipe with Spinach (Gluten-Free)
    • Easy No-Bake Cookies with Chocolate Chips and Peanut Butter
    • Home Remedy Ear Infection Drops That Actually Work

    Summer Recipes

    • Easy Gluten-Free Blueberry Muffins
    • Easy and Healthy Chicken Salad Recipe
    • 30-Minute Instant Pot Creamy Chicken Pasta
    • Healthy Berry Crisp (Gluten Free + Vegan)
    As seen in Pop Sugar, The Huffington Post, BuzzFeed, Shape, and more.

    Footer

    ↑ back to top

    As seen on...

    About

    • Privacy Policy
    • Disclaimer

    Newsletter

    • Sign Up! for emails and updates

    Contact

    • Contact

    Copyright © 2022 The Butter Half